I just love it as a way of self expression as well a sustainable eco-friendly way of living.


I just love it as a way of self expression as well a sustainable eco-friendly way of living.
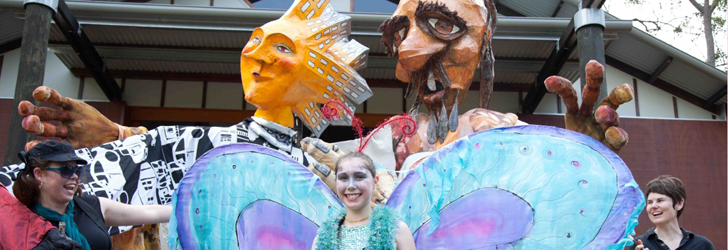
We make giant puppets to celebrate community events and celbrations and support environmental and social causes.
I wanted to give crafters an outlet to sell their products.
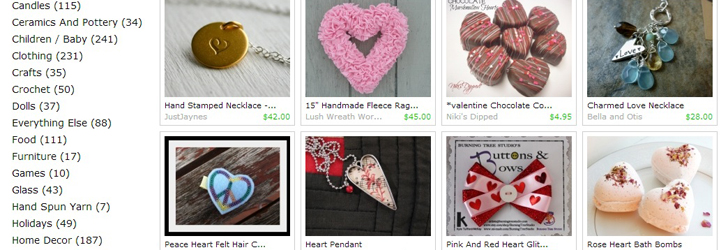
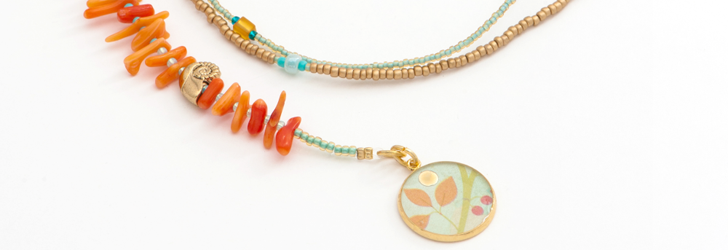
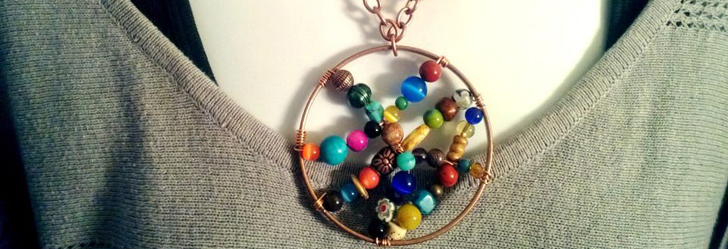
I love browsing through all sorts of gems and figuring out unique and different ways to incorporate them into a new piece.

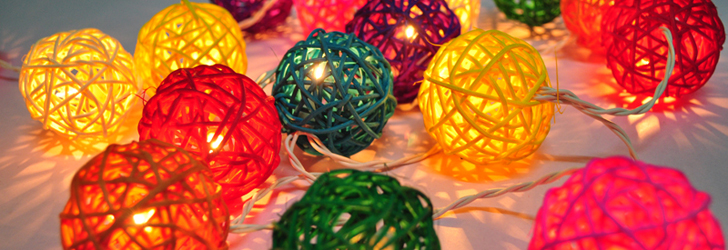
We found these fairy lights in local handmade market, and they are very beautiful, we learn how to make them, develop quality of them and make variety style of fairy handmade string lights.
Jewelry design is literally in my DNA- my grandmother Thursa, who is part Cherokee Indian, spent a lot of her free time spinning webs of dream catchers and intricate beading while telling stories of our ancestors.
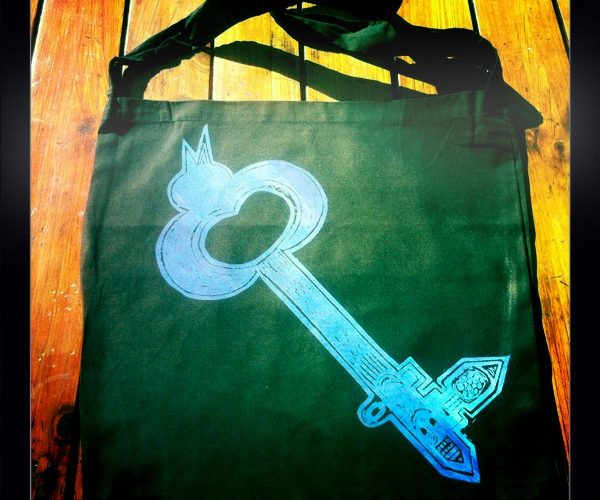
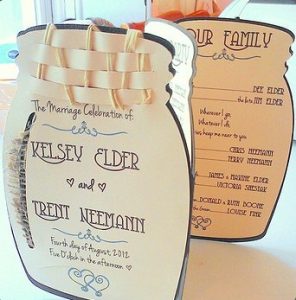
One day I ran out of things to scrapbook and I sewed a purse. Recently I have been making distressed painted wall hangings out of wood.